Finally got some forward momentum with the dining room. I broke down a lot of the tasks into “pre” and “post” for the floor sanding. The idea being anything that’s likely to leave drips or marks on the floor, and can’t be done in another room should be done before it’s sanded and anything that can be finished elsewhere or that might get bumped by the sander/limit floor access should be done after.
The Long Weekend
My father is now retired, and does some work with the family that brings him my way on Thursdays, so we elected it would be helpful for me to take a vacation day, and him to stay the long weekend so we could tear into the time-intensive tasks, and have 2 people for those ungainly or heavy jobs.
Setting the Table.
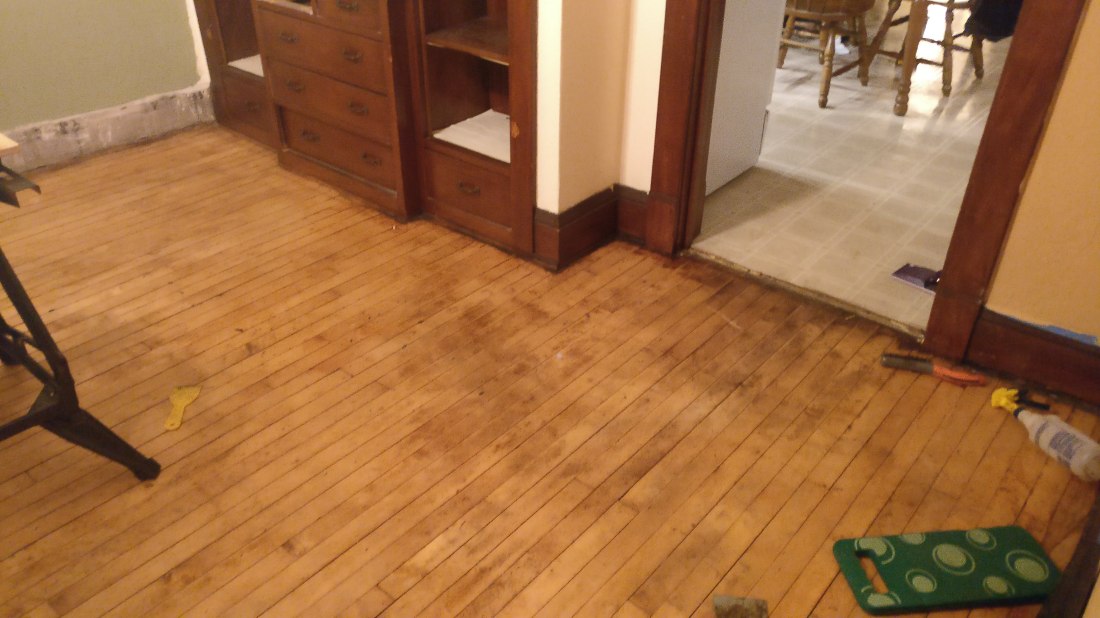
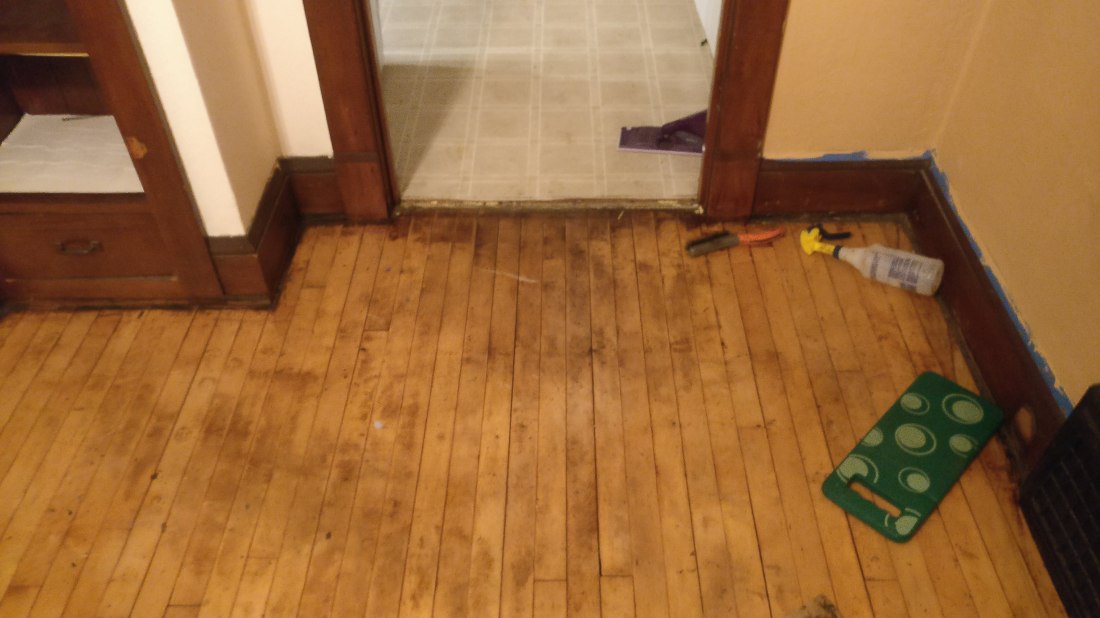
I wanted to get as ready as I could so we could knock out a lot. I finished up the floor as much as can be done without the sander
Fine China
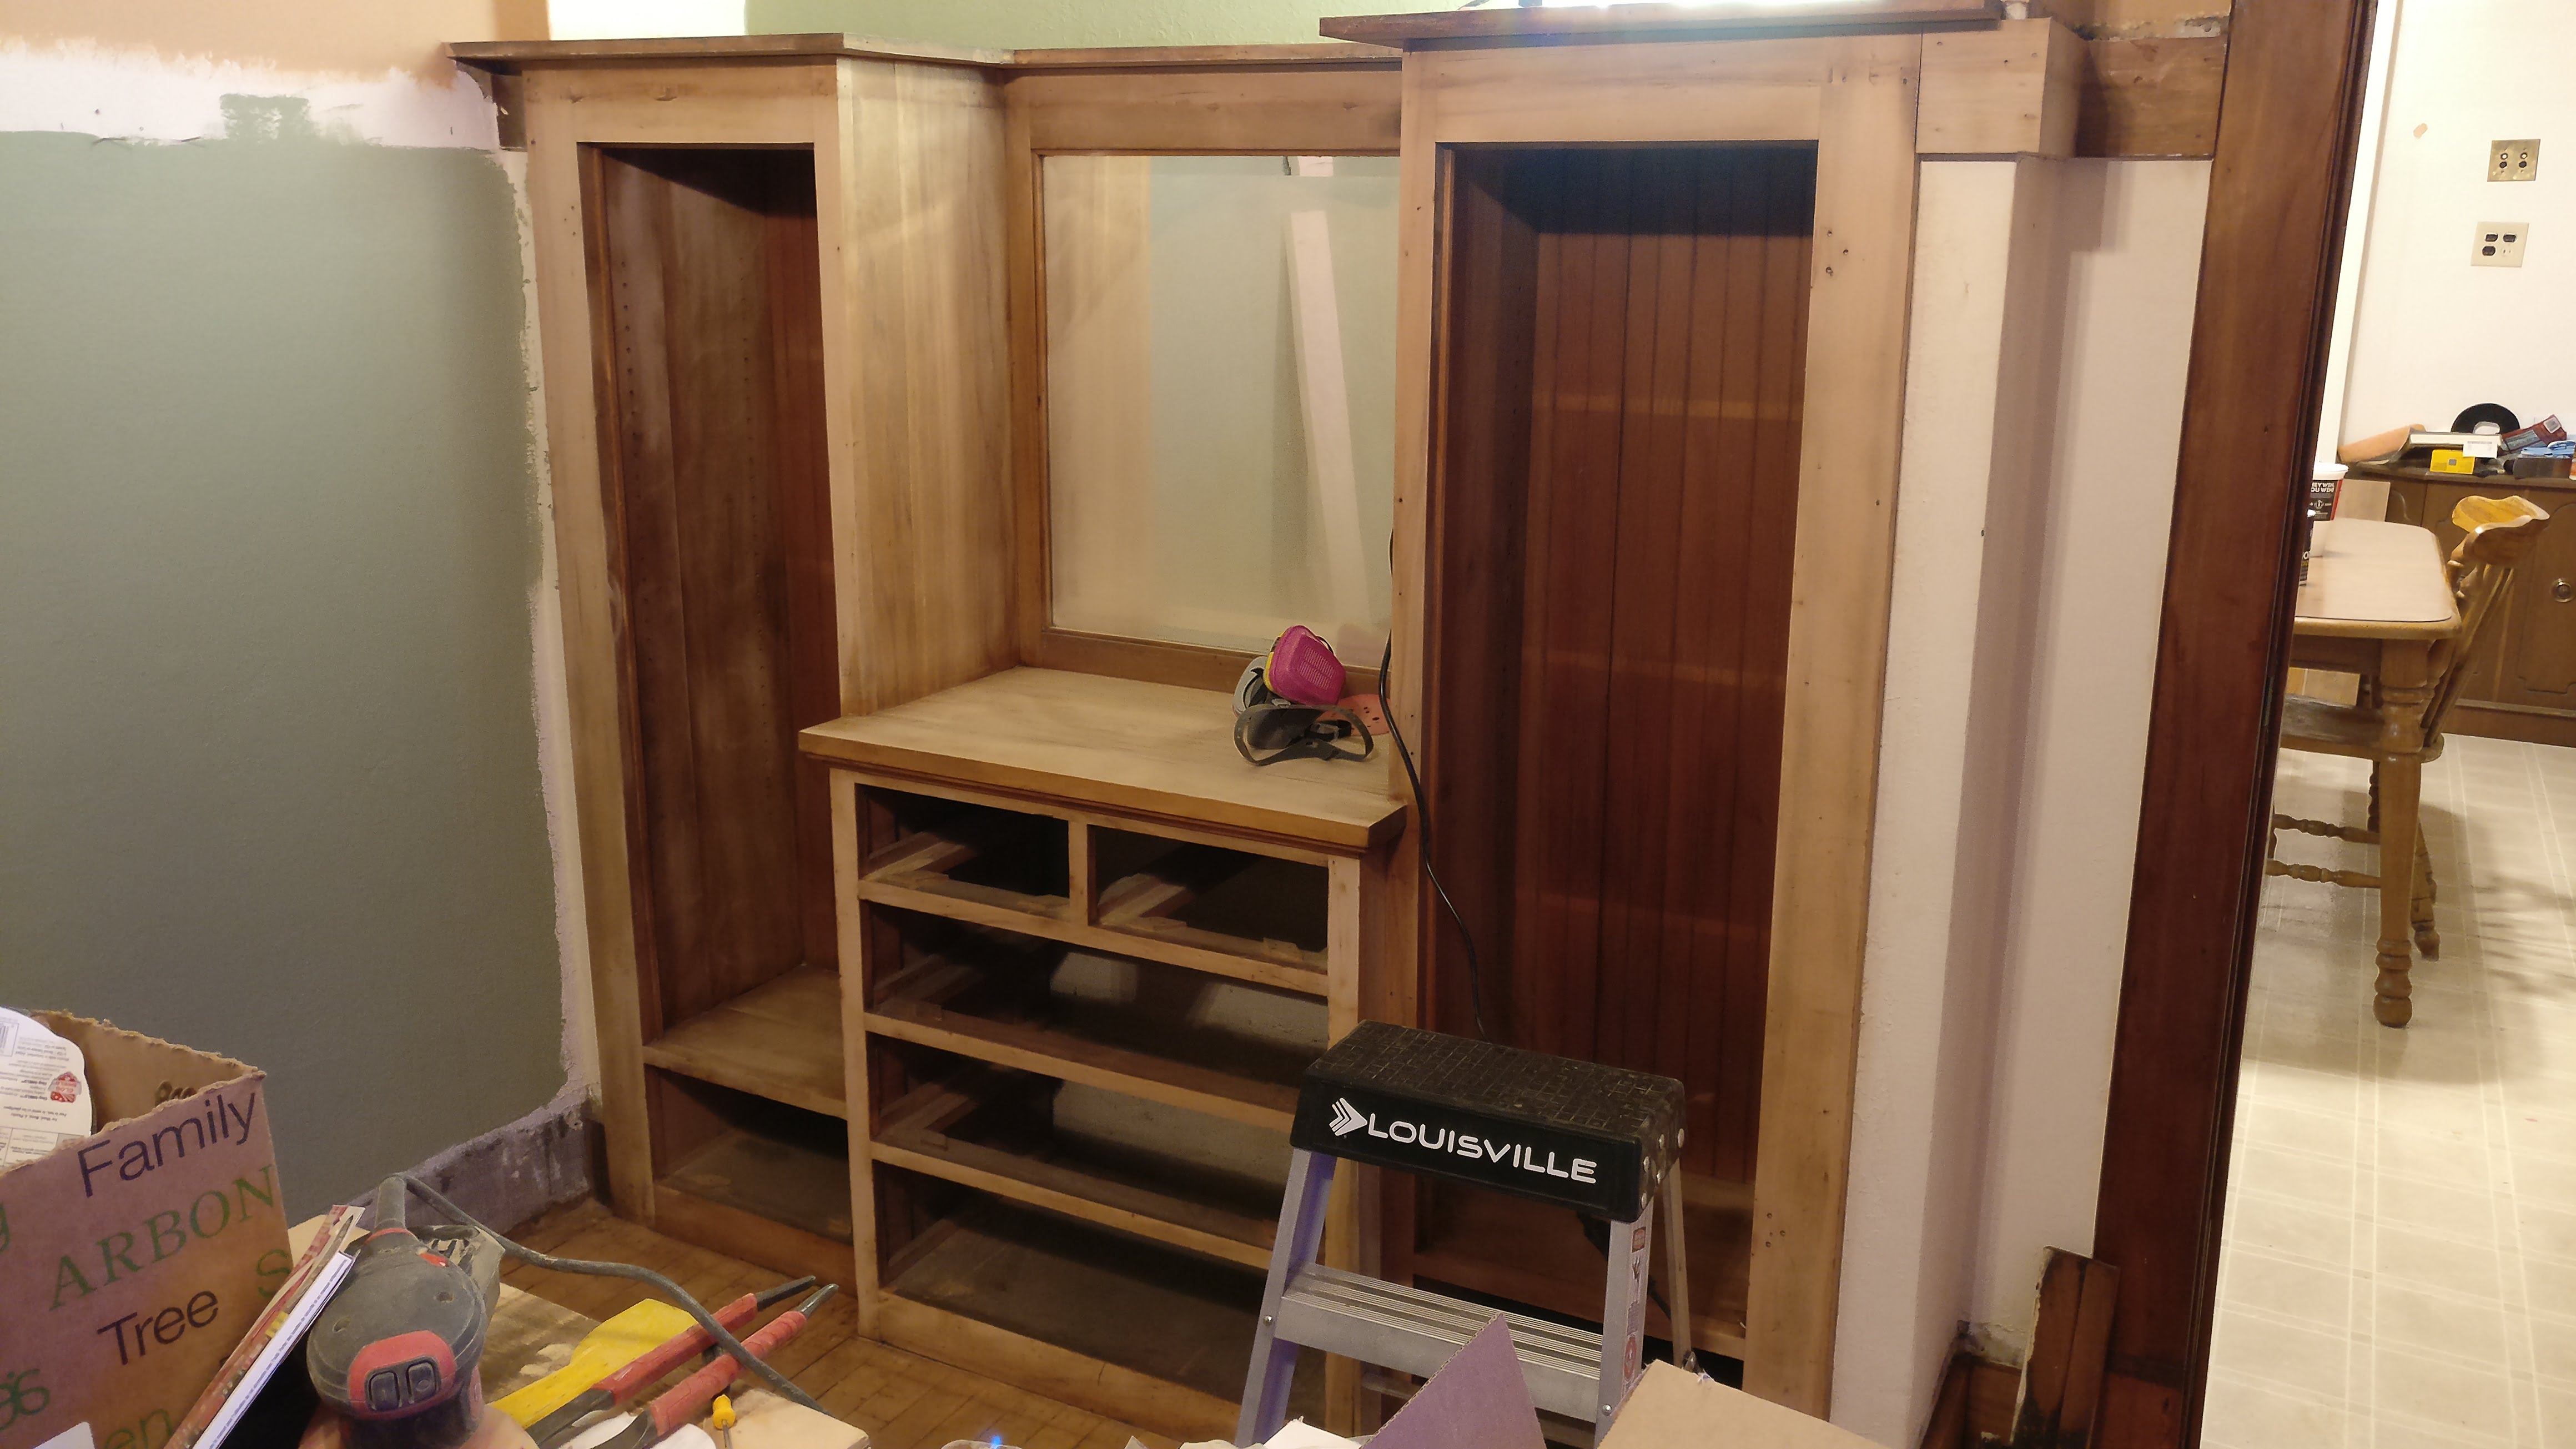
A central focus is the built-in china cabinet. I removed the leaded-glass doors and set them aside to be finished carefully.
There were a lot of surfaces and details to remove shellac from, so I knew it was going to take awhile. I masked up and started spraying away. It was my first time removing it from vertical surfaces, and it made quite the mess.


The top in particular was a sloppy job. I didn’t get it totally de-shellacked, but got it started. My dad arrived Thursday evening and we got up early and dug in.

He took on the Window Frame and the remaining baseboard areas. Some areas, the shellac went quickly, while others were a fight. We got them to a pre-sanding place by evening (shower curtain to give privacy until I reinstall the casing).


We found matching shoe and casing molding for the old molding and elected to trash the original, between paint, shellac, and general wear it was in a pretty sad state.
The Factory Floor
My basement was the perfect place to stage my trim and dye all of it, polyurethane it all. The original baseboards cleaned up fairly well. They have some character that will not be easily removed.


I also had enough of the replacement shelf-pieces and trim to rebuild every piece on the front of the china cabinet rather than refinish the 100 year old source pieces. Shellac, wear, and nail holes made me decide to scrap them (eventually, they’re in a box for now)
Pine “cap” molding drying.

Dry boards hanging out on a box. (ignore the sawdust)
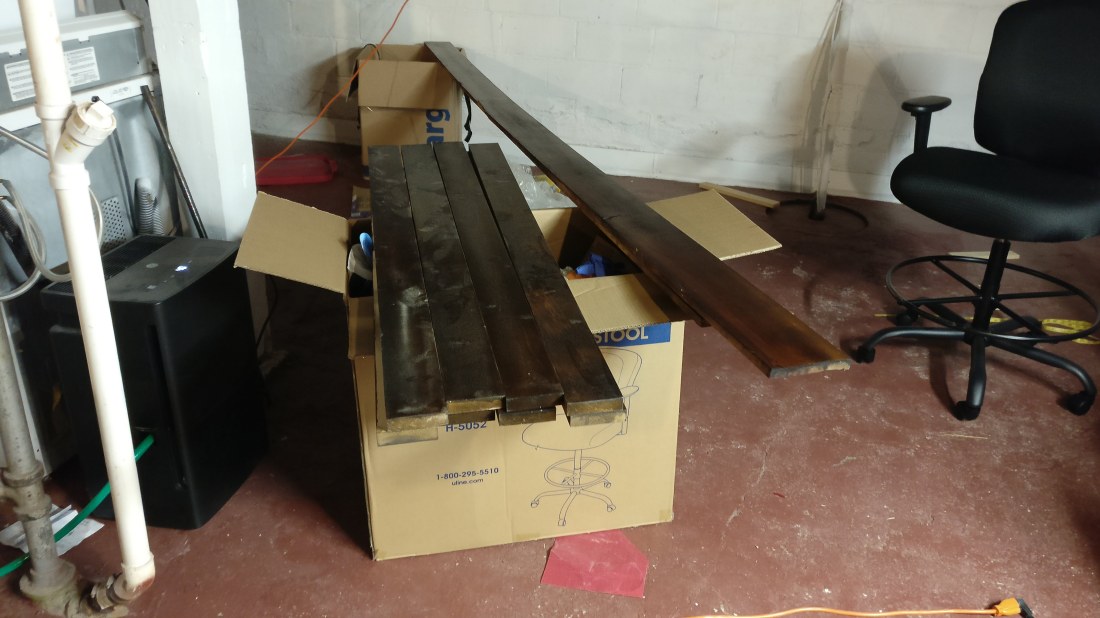

And my high-tech system to track how long this stuff takes to dry.
Where Things Stand

I started sanding the China cabinet. It will need some TLC with the palm sander and details by hand, but it’s a start. Unfortunately something in my process killed the fish in my aquarium across the room (or some kind of malfunction ) 😦

And it’s time to cleanup this mess, but Sunday was a literal day of rest (and fish tank damage control). I’m going to try and get the china cabinet and window sanded, dyed, and polyurethaned this week and sand next weekend. It’s ambitious, but we’ll see.
BONUS GUINEA PIG


One thought on “Dining Room Restoration Part 3”