One of the things my home was lacking was a dedicated workspace. A consequence of this was I spent a lot of time borrowing the folding work table from my father or balancing things precariously only a couple old saw horses and scrap plywood. It also meant I dinged/painted/generally abused my dining room table more than I’d like to think about.
I knew I wanted a workbench of considerable size and that I wanted it indoors. My garage, being detached and rather small, was not the kind of place to setup a workshop. I may yet build a permanent surface out there for cutting wood, but this work surface was going in the basement.
I am not a furniture maker or ergonomics engineer, so I picked out a plan I liked. I took a few design liberties with it, but followed 90% of the design (driving 4″ screws longways through 2x4s was disposed with, they make L brackets for such things).
The link is here: https://www.curbly.com/18093-how-to-make-the-ultimate-garage-workbench It’s a solid design, though I think he makes some of his explanations more complex than is necessary.
Construction
Building the Frame
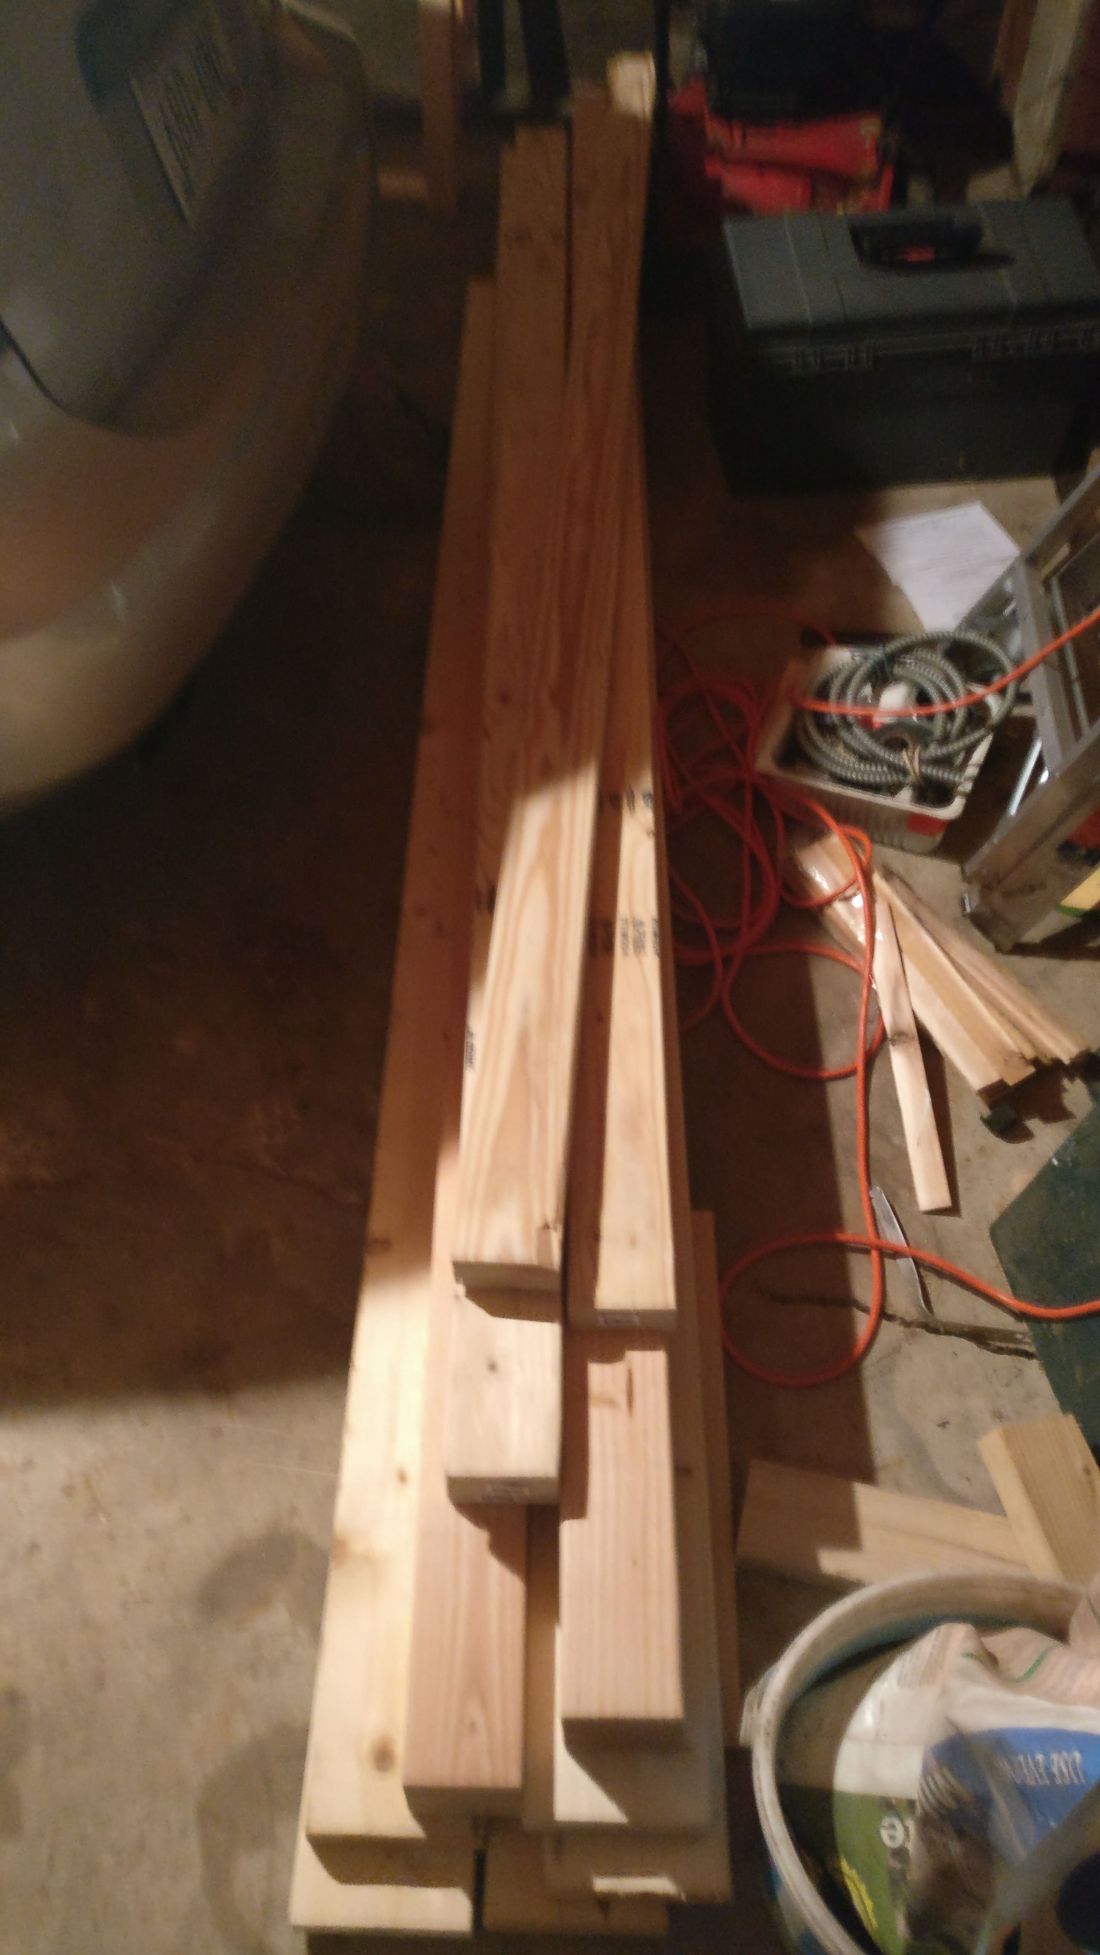
I collected the supplies. The nice thing about this design is it was created with homeowners in mind. It all fits in the car… just barely

And as you can see, the lumber barely fits in my garage, so a work bench out there is not really an option.
My father brought up his chop saw (I’m definitely going to get one soon) and a folding table suitable for cutting. The dowling work (author mistakenly calls mortise work) is a little tricky, and would have been easier with a material tougher than pine, but it was doable.


I’m afraid I didn’t take a lot of pictures, but the design document shows it in great detail. In the second photo you can see I added a screw above the bolt. This was because my measurements were imperfect and the stretcher was high because of it. I removed the bolt, lowered the board and drove in a screw to hold it. Then I re-bored the bolt hole a little until it was in alignment. The screw will keep it from lifting.
Table Top
With the frame complete, we moved everything inside to glue and finish the bench. Glue dries better at indoor temperatures, and we were not sure we could get the table top around the corner above the stairs once complete.
I arranged the boards so they butted as closely to ideal as possible and drew a triangle in pencil so as to make it hard to mix them up.
Pipe clamps are really the only way to hold something like this.

I used sacrificial wood scraps to keep the small pads of the clamps from leaving imprints on the wood. Smaller clamps with slats on the ends helped keep everything in plane. A drop sheet caught any glue drips.
Another departure from the instructions, I allowed a full 8 hours between each gluing. With 5 boards to glue I did the following
- 1 + 2 together (wait)
- 3 + 4 together (wait)
- 3/4 + 5 together (wait)
- 2/3 + 3/4/5 together (wait)
This way I was never worried about more than one joint at a time.

With the top done, I mounted it to the frame. I did not put 4″ long screws through the 2x4s the long way as I figured it might split the pine. I chose some L brackets from the hardware store instead. 2 sets of 4. I sanded the table top with a random orbital palm sander (Not as thoroughly as I should have)
Finish and Use
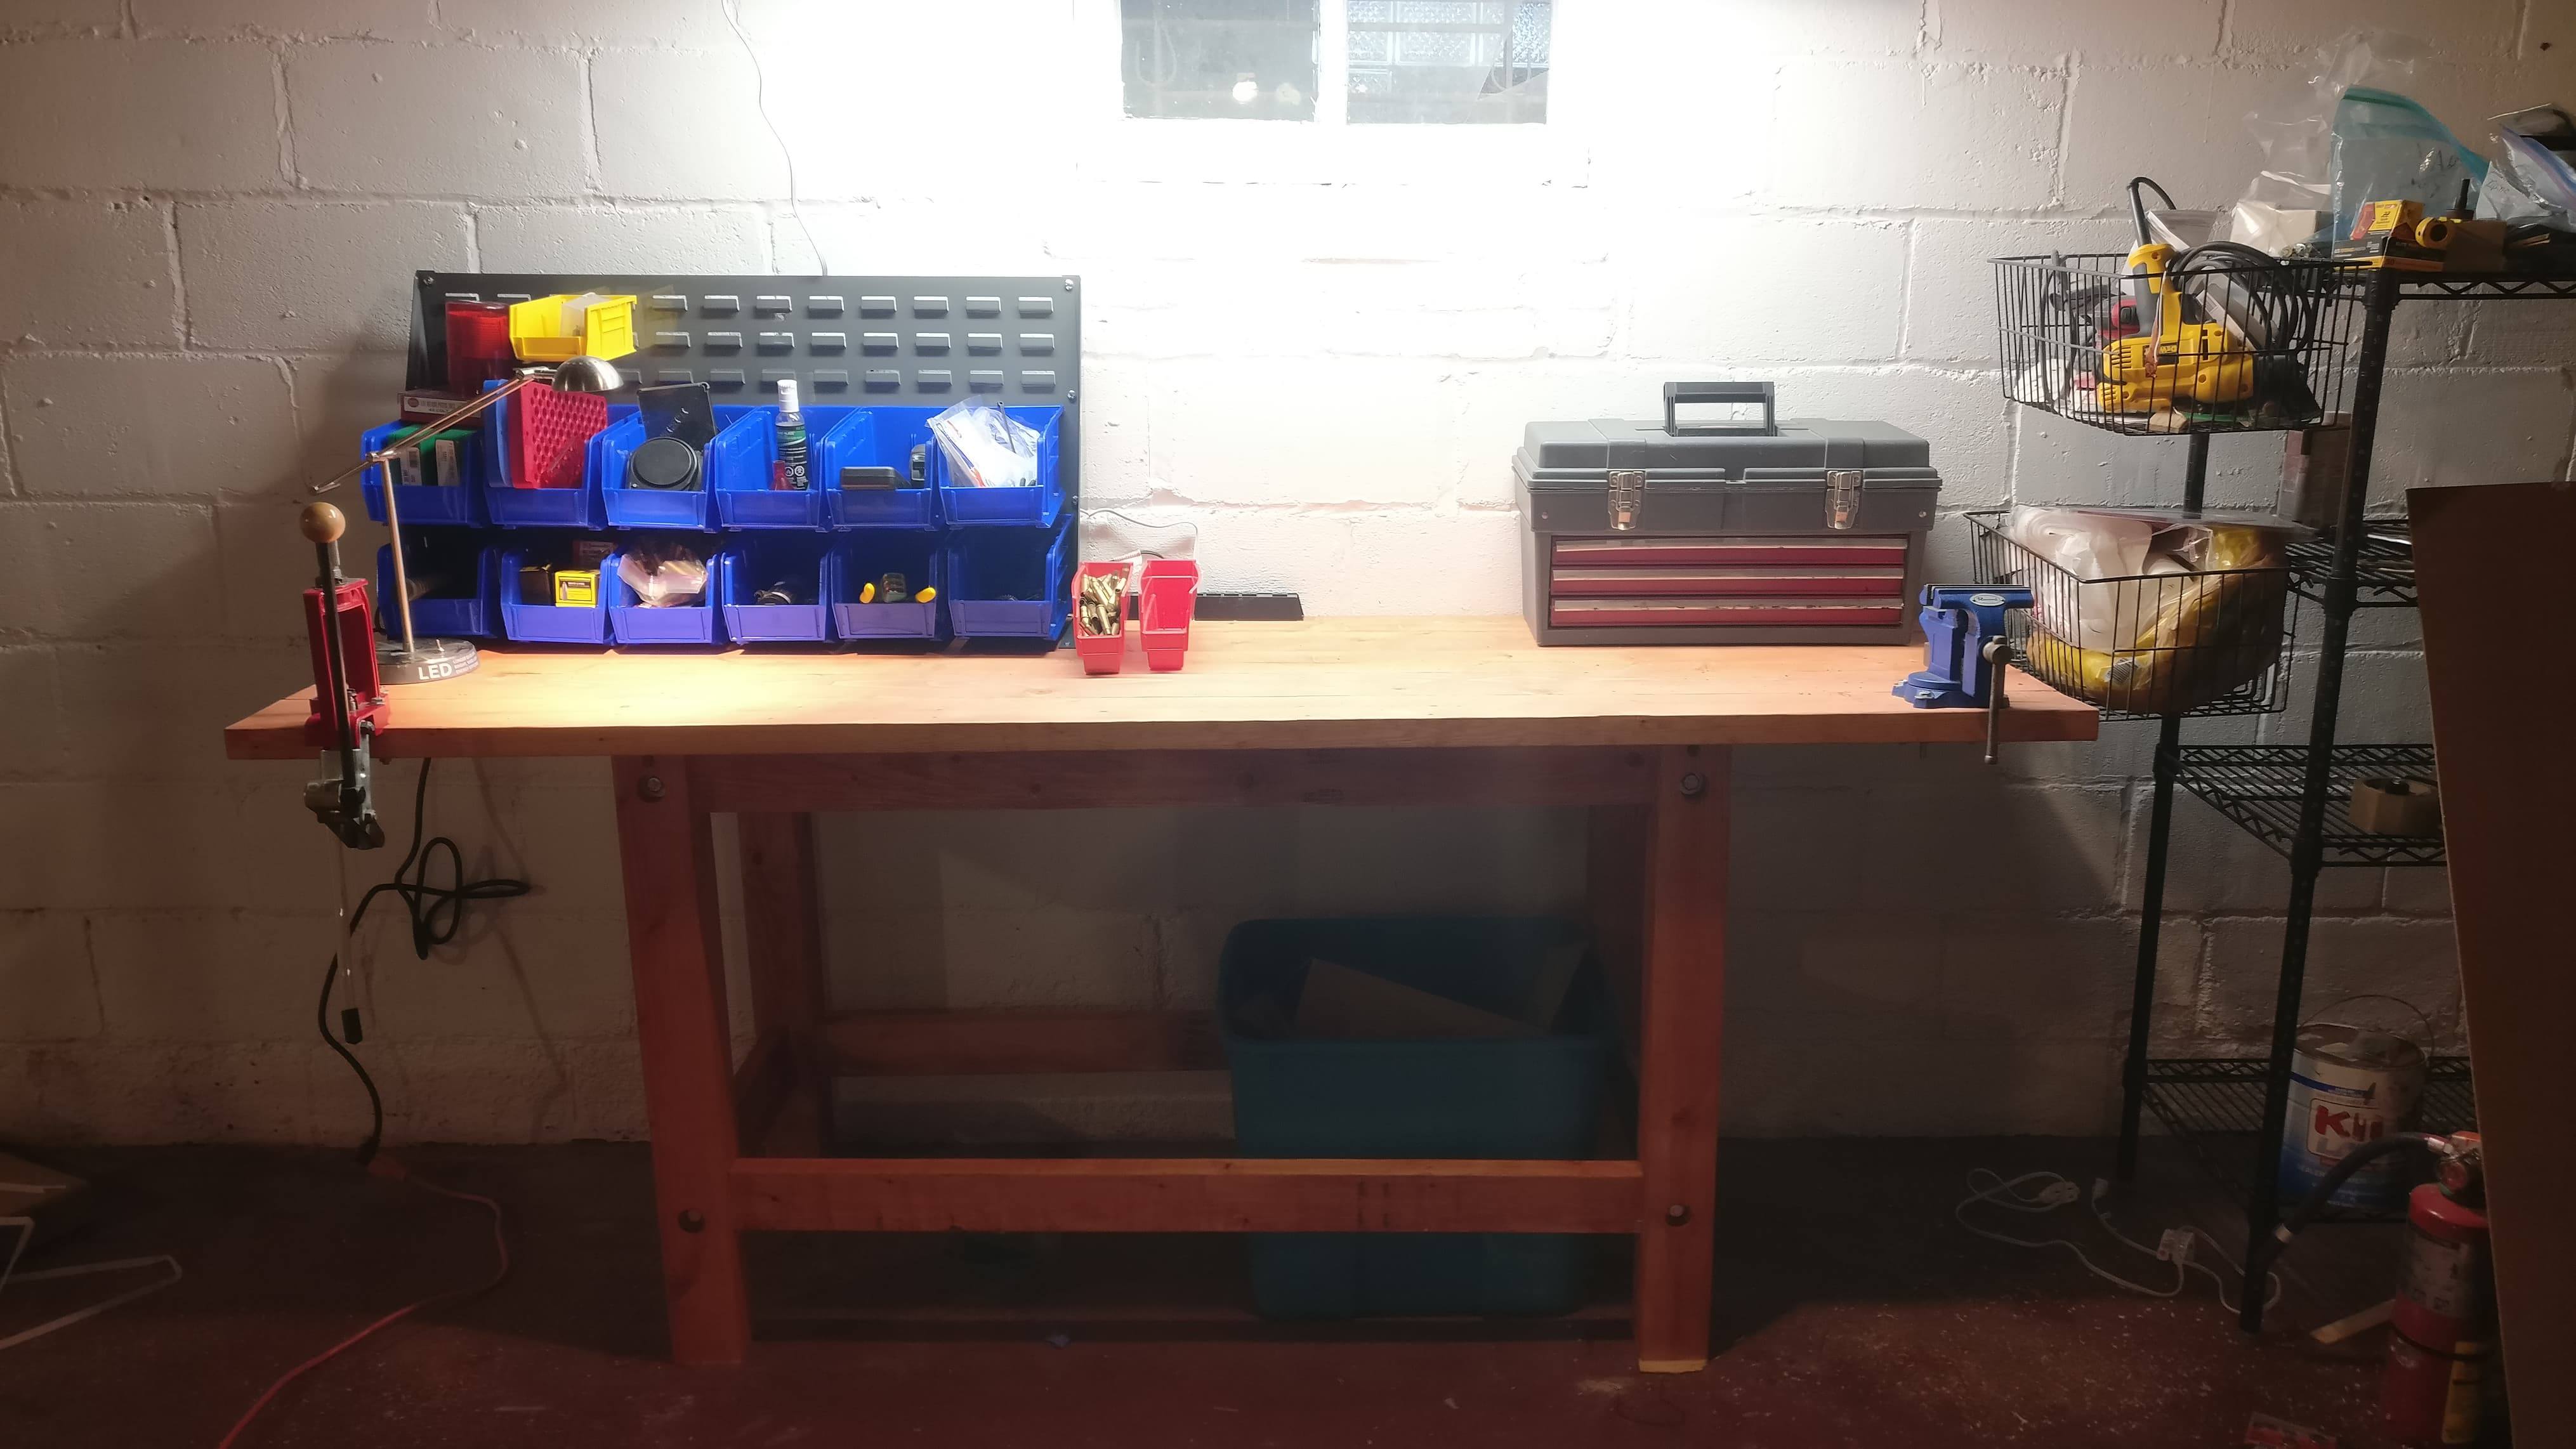
I wanted to make it more useful as a workbench, gunsmith’s bench, and reloading work area.
I ordered a bin stacking system that I think will be really handy for tools and components, and I dug out my vise and reloading press to mock up the holes.

I set that aside until I can finish it.
Red Rum!
I know its a workbench and its going to get beat up, but I wanted to keep the basic bit of grunge off it as long as possible. Someone recommended Danish oil to me as an easy, low shine finish that will help close up the pores in the wood.
I chose a cherry colored oil to give the blank pine a little color.
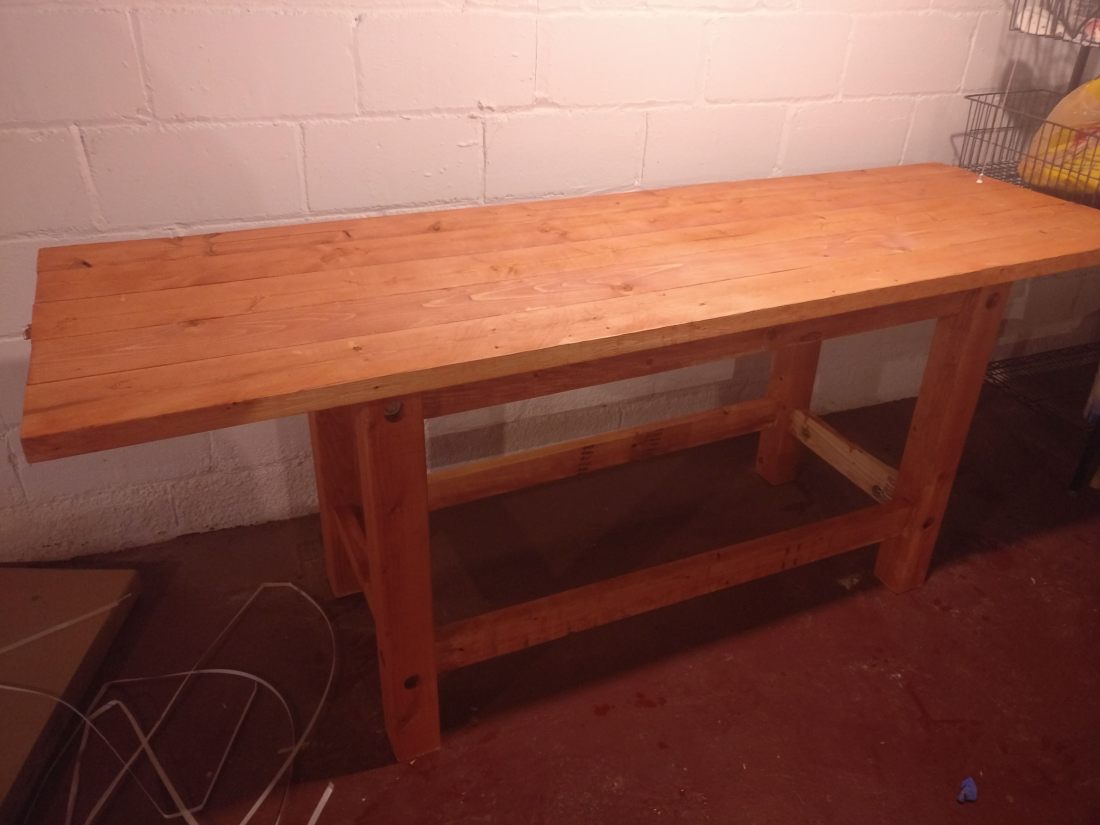
Luckily it dried to a nice, flat, red. I was a little concerned when I started. When wet, the finish looked more like a sacrificial altar than a workbench.
I didn’t bother finishing some of the inside surfaces as a shelf will go in the bottom here eventually.
Finishing Touches
With the finish dry, I wanted to install my tools and storage. I also noticed that the pull-chain light near the bench is always behind me, causing me to cast an annoying shadow on the work area. I purchased a 48″ LED work light. I also brought in my big tool box which will occupy the corner of the workbench as it is way too heavy to carry around. I have my “doctors bag” for mobile use.

Next, I setup the bin rack, screwed it down, and added a heavy duty surge protector to the back of the work area. Secured my vise, and my press.

Ready to roll! All I need now is a stool.
Follow Up:
For now, I’m fine having the under bench area as storage with some bins, but I do plan to add a shelf. I think I may go back and add a backsplash to the areas to the right of the power strip so things aren’t rolling off the back. Similarly, I have a piece of hardy board for a back of the bottom shelf.
I’d really like to run dedicated power to the area, an extension cord is currently powering everything from 30 feet away. It should be fairly simple to run a box off the nearby pull light box, but I want to consult with my uncle the electrician before I get too ambitious.
